

How to use Compressor to get the most out of your exports
Several months ago, a videographer friend of mine was struggling with his films. They were exporting out at huge file sizes- one film came out at a whopping 17gb and unsurprisingly his client was struggling to play it at their end. After a bit of discussion of bitrates and settings, he was able to re-export the film at a much more manageable 6gb, same excellent quality, with only a few clicks.
How, you ask...?
Why yes, the glorious Compressor!
Compressor has been my go-to companion software for my many years of editing using Final Cut. They go hand in hand for a seamless exporting experience. In fact, I struggle to recall the last time I used the export presets within FCPX. Today I'm going to run through some of my favourite features of this powerful software.
First and foremost the obvious thing to love about this software is its integration with FCPX. Exporting out of Final Cut is so easy using the 'Send to Compressor' button in the File menu. Once Compressor launches, you have a fairly simplistic interface, containing some seriously useful tools.

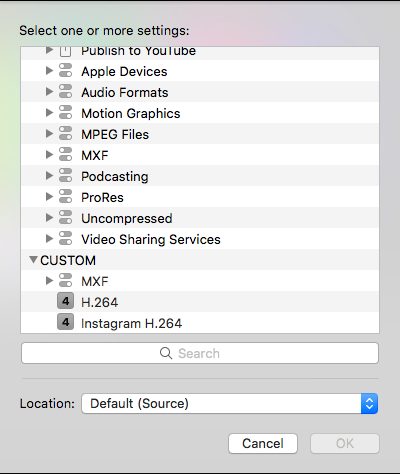
On initial use, my advice to start off would be to create some custom export presets. Alongside Compressor's built in ones, you may have certain settings you need to use more frequently, so it's a great idea to set these up and incoporate your standard delivery settings into these presets.
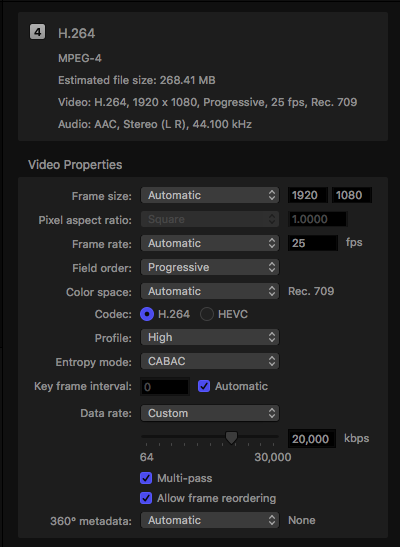
In Compressor, you have much more freedom to adjust your bitrate, among loads of other features. This can really help you bring the file size of your project down without reducing the quality too noticeably. This is ideal if you need to fit a large file onto a USB or send copies over the internet for approval.
Another thing that I really love is the capability here to create a queue of exports, similar to Adobe Media Encoder. You can add multiple formats to export one project, or throw a ton of different projects at it all at once. I love to finish a project and send it straight to Compressor, add several different settings for various delivery requirements (broadcast, web, social media etc) and set off the whole batch to export.
While it can be a bit of a learning curve to some, I assure you it's worth it for any FCPX user for the time (and space!) you'll save in the long term.