

5 Best Features of Adobe Premiere
Hello there! This month I thought I would write about some of my absolute favourite features of Adobe Premiere Pro. Of course, they may not be your favourites and I'd love to hear from you in the comments what you love (or even don't love!) about Premiere.
OLDER VERSIONS
The biggest thing for me when it comes to Adobe Premiere is that you can easily run multiple versions at once, without issue. Creative Cloud lets you download previous versions and run them as though they were seperate pieces of software altogether, meaning you can go back and open old projects, or in my case I can keep compatibility with clients who may need to use an older version of Premiere for other reasons, such as hardware limitations.
TIME REMAPPING
The time remapping tools in Premiere are some of the best I have ever worked with. They allow for so much creativity when it comes to creating those popular speed ramping effects. Play around with them and see what happens!

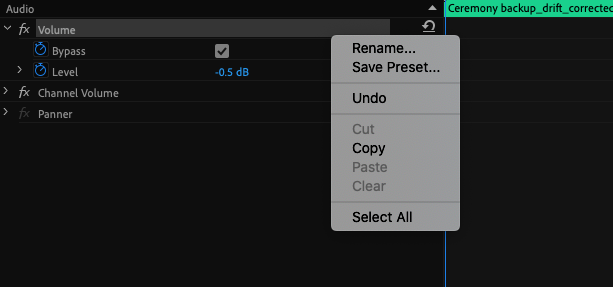
EASY AUDIO KEYFRAMING
I am forever adjusting my audio levels using keyframes. In Premiere, this is so easy as the option is right where you're working, and the keyframes are super easy to move around too.

PRESETS, PRESETS EVERYWHERE
With pretty much anything you do in Premiere, you can make it a preset. If you've added a bunch of really specific keyframes to your clip, you can just save that as a preset and whack it on any other clip you fancy, saving yourself enough time for that quick walk around the park or a cuppa in someone's garden, since that's all we're legally allowed to do right now...
ADJUSTMENT LAYERS
So you absolutely nailed the grade on that one clip, but now you have to do all the rest of them? Or you got yourself a really nice LUT to use but don't want to go through the hassle of applying it to each clip seperately?
Never fear, Adjustment Layer is here!


Our little pink friend over here can sit on a track above the rest of your footage, just hovering there, holding your LUT for you and shining its beauty down onto all your little clips, whilst you adjust your main clips for exposure, white balance, all of that. No need to apply your LUTs to the main track's footage, so long as your adjustment layer is covering them!
So there you have it, those are some of my favourite features in Adobe Premiere. I'd love to hear about yours, or any other editing based queries you might have! Feel free to contact me here, or leave a comment below if you have a favourite feature in Premiere you want to talk about.